Saturday, November 29, 2014

Flower Magnets

During the school day I am constantly searching for magnets to hang things on my whiteboard. I don't have much wall space in my classroom, so I have to put a lot of anchor charts on my board and change them throughout the day.

When I went to the store to go buy some hanging magnets, I remembered that I saw some adorable flower magnets a while ago on Pinterest. These made the whiteboard look like a beautiful flower garden! It's the little things that make you happy, and each time I look at these I can't help but smile!

Here's what to do:
 1. Buy plain magnet discs. These can be found at a variety of places.
 2. Flower Embellishments- I used Prima Flowers. These are absolutely gorgeous. They are used in scrapbooks, but I have used them for so many different projects. They can be a little pricey, but with your craft store coupon they are completely worth it. I've had this large jar forever.  
 3. Now you are ready for the fun part! These flowers are meant to be layered, so start putting together different combinations. I usually layer three at a time- a small medium, and large. Place a dab of hot glue on the center of each flower- a dot will do! Then glue your whole flowers to the magnets.
 And that's it! The easiest way to add a little special something to your classroom!
 What you'll need:
*magnet discs
*flower embellishments
*hot glue gun

Look at that gorgeous flower garden!

Friday, November 28, 2014

Crate Seats

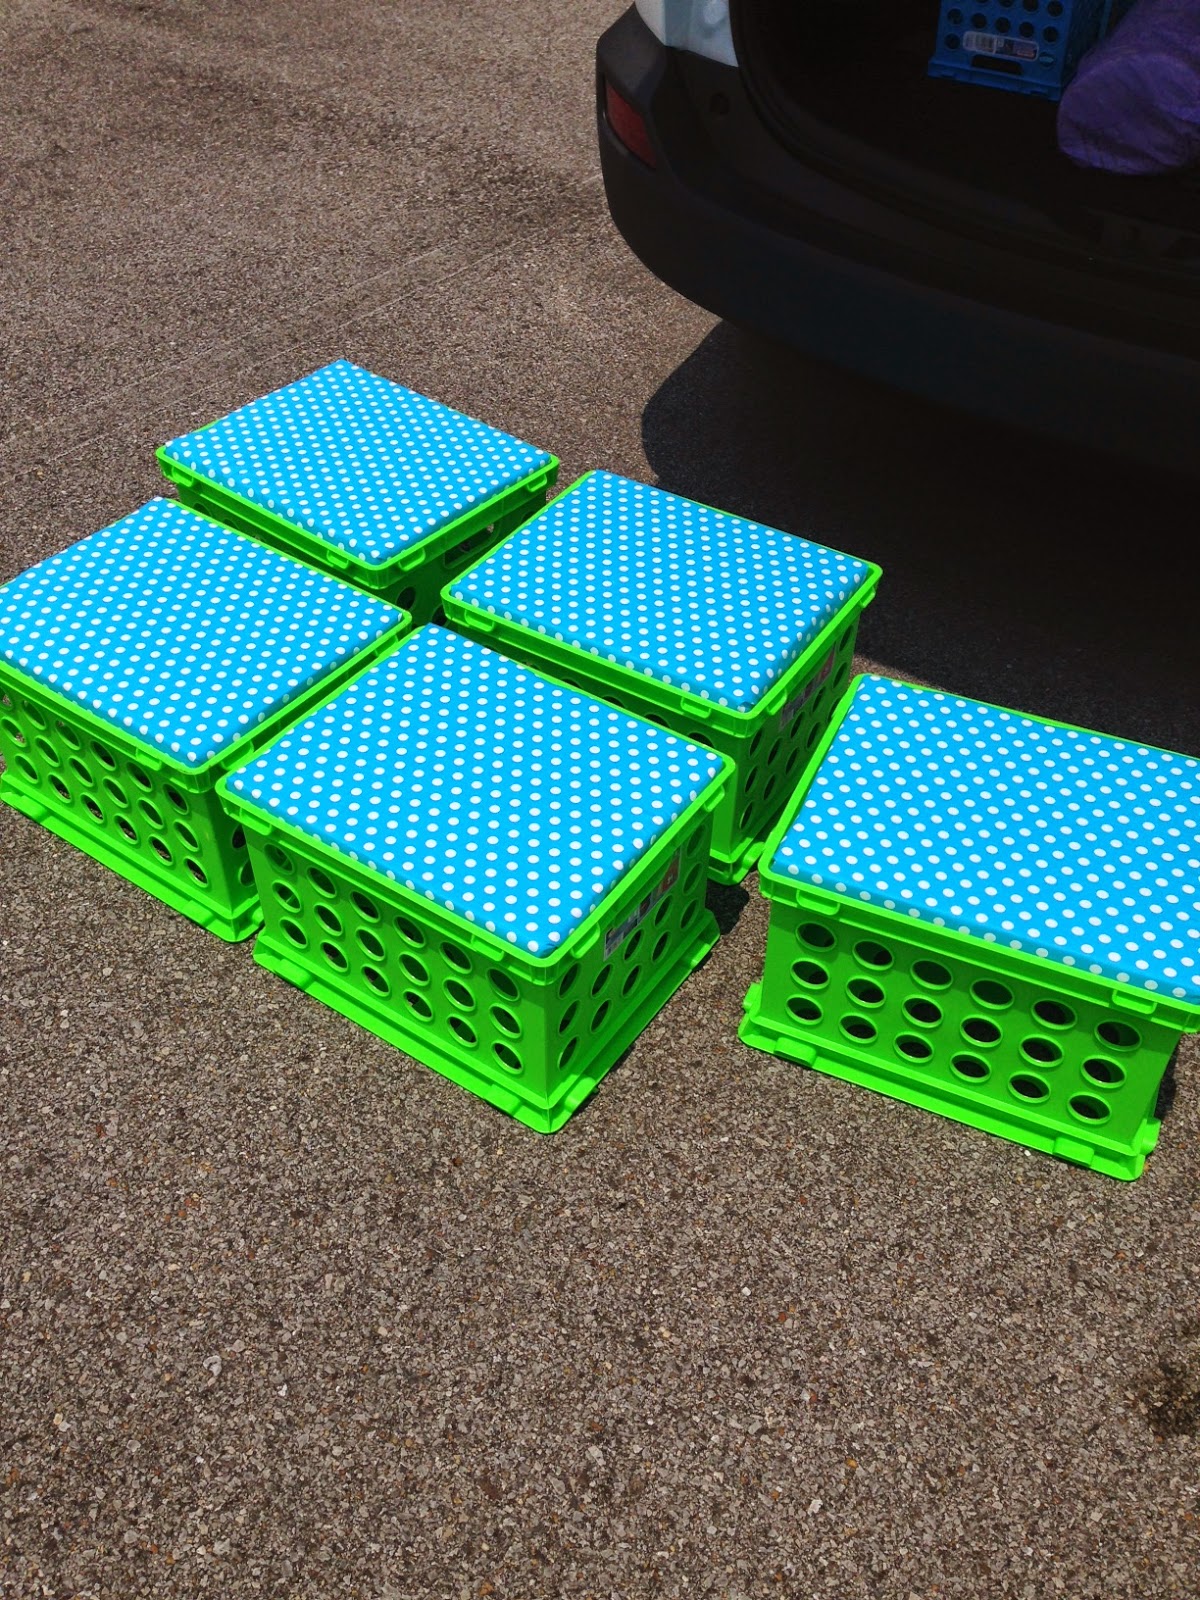
I decided to finally make some crate seats a while back. The area near my small group table was a little cramped with regular seats, so I decided crate seats would be the most efficient way to use the space- plus they are great for storage! The kids love sitting on them!

Here is the tutorial:
Before you begin the fun part, you need to do some shopping!! First, I bought my crates. Choose a color that suits your classroom color scheme. I went with bright green(my secondary color) because they didn't have turquoise. Then go to your local home improvement store, crate in hand, to have them cut plywood pieces to fit the top. If you are lucky like me, you will meet a nice man who's wife is a 3rd grade teacher who just completed this project the week before :).

Once the wood is cut, the fun begins! You get to pick out your fabric! I brought in a piece of the plywood with me to the fabric store, and I  explained to the ladies what I was doing with it. They were able to tell me exactly how much fabric I would need- since I am completely clueless when it comes to that sort of thing. Also while at the fabric store, I picked up some foam padding. This can be cut down to size.
***Ignore the liquid nails in the photograph and replace with spray adhesive.***


1. Lay your plywood on top of the foam padding. Trace the border of the plywood, and then cut. Spray the plywood with adhesive, and then place foam cushion on top. 

 2. Flip cushion over so that the foam cushion is laying on top of the back of the fabric. From here, you can estimate how large to cut the fabric. I simply just cut around the plywood, leave about 3 our 4 inches on each side.
 3. Here comes the tough part- pull the fabric very tightly with one hand, hold, then staple with your staple gun.
 4. Wrap your cushion like a present and staple as you go!
 5. Viola! You have a fun seating option for your kiddos AND some major storage for yourself!

What a space saver these little gems are! 

What you will need:
*crates
*plywood cut to size
*fabric
*foam padding
*spray adhesive
*marker (for tracing)
*scissors
*nail gun
Enjoy!!!

XOXO
Lauren